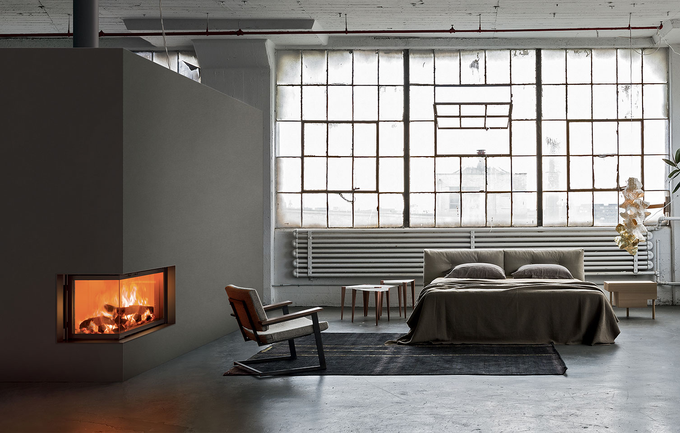
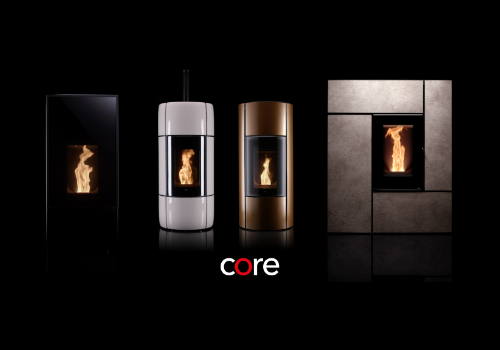
Una estufa mejor
Elija la mejor solución para calentar su entorno.
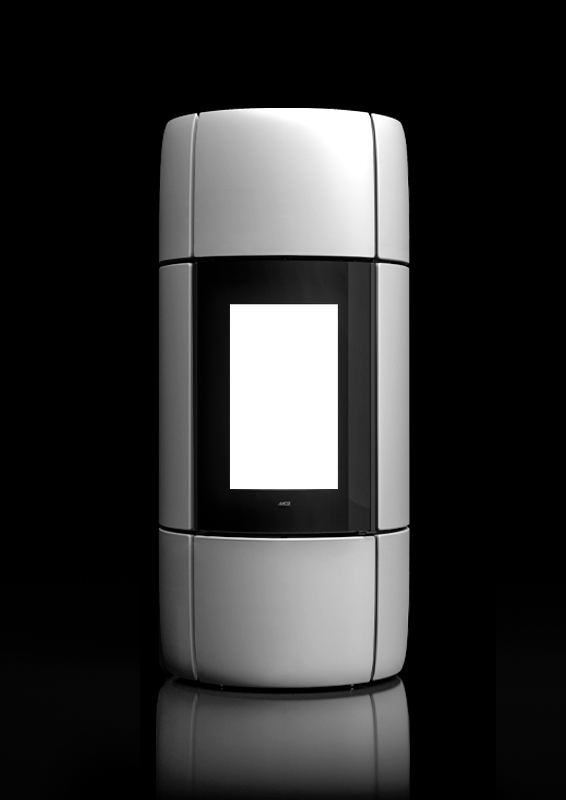
La revolución ecológica
Una llama espectacular que permanece natural a todas las potencias con los niveles de emisión más bajos de su categoría.
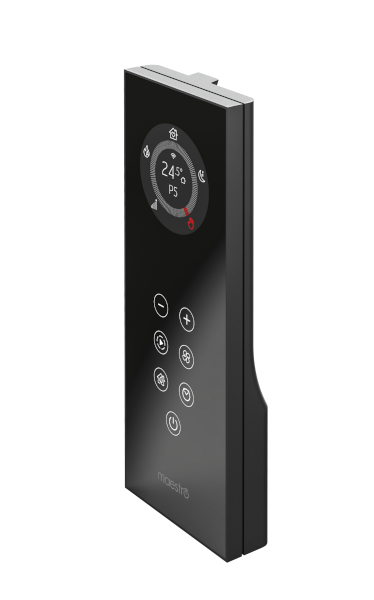
La experiencia de usuario más avanzada
Aproveche al máximo su estufa con un uso aún más fácil e intuitivo, estés donde estés.
Ver más

Estufas como vistas en directo
Con la realidad aumentada elegir es aún más fácil
¿Arquitecto o diseñador?
GUÍAS, DIBUJOS TÉCNICOS Y TODA LA AYUDA QUE NECESITA PARA REALIZAR UN PROYECTO PERFECTO
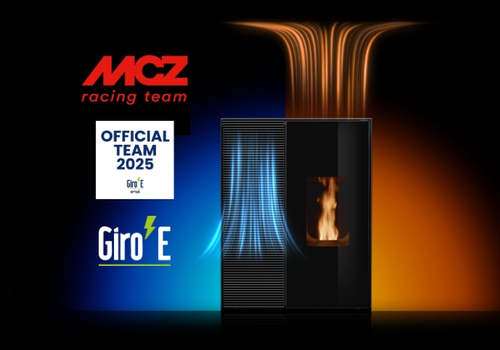
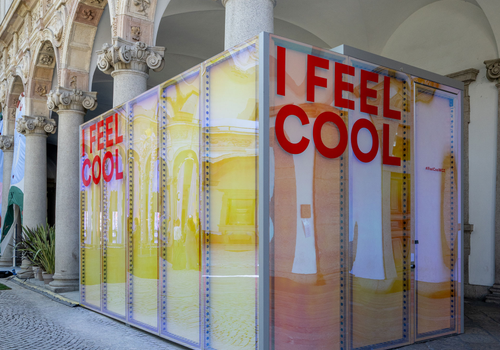
Colaboraciones
El diseño y la tecnología continúan enriqueciendo las colecciones de MCZ. Los productos de MCZ nacen de la colaboración sinérgica entre la empresa y las realidades internacionales más prestigiosas en el mundo del diseño.
Nuestras guías
Navegue y descargue nuestras guías gratuitas. Descubre nuevas ideas, soluciones interesantes y todas las respuestas a preguntas habituales.
Ver todas las guías
Estufas de pellet: Guía para la elección. 4 puntos para una elección sensata.
Download