Starting in 3 minutes
![Starting in 3 minutes]()
Excludable ventilation
![Excludable ventilation]()
Self-cleaning brazier
![Self-cleaning brazier]()
Possibility of installation with top or rear outlet
![Possibility of installation with top or rear outlet]()
Coaxial smoke outlet
![Coaxial smoke outlet]()
Silent flame with natural movement
![Silent flame with natural movement]()
Weekly ash emptying
![Weekly ash emptying]()
High efficiency Brushless gear motors
![High efficiency Brushless gear motors]()
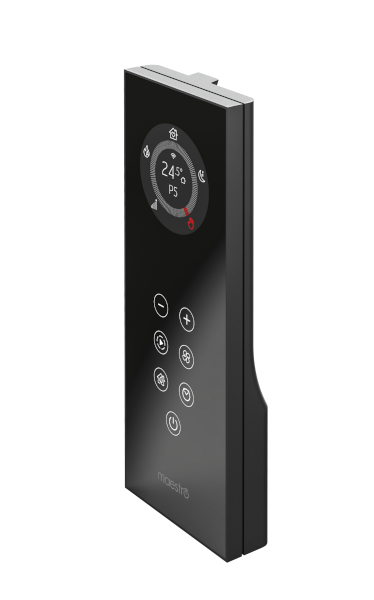
Remote management and programming
![Remote management and programming]()
Hermetic structure
![Hermetic structure]()
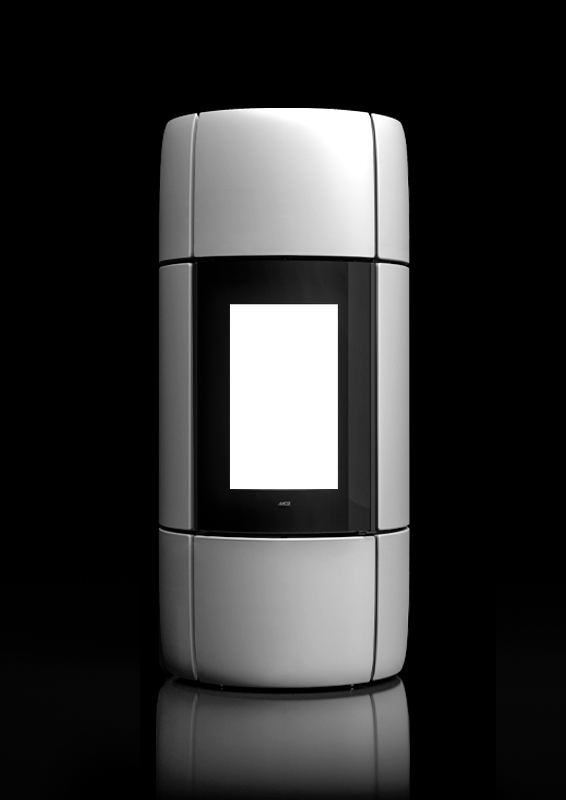
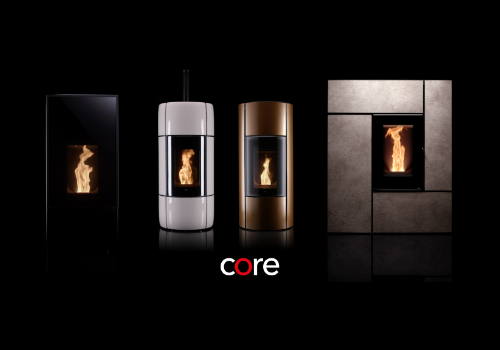
The ecological revolution
A spectacular flame that remains natural at all powers with lowest emission levels in its category.
The most advanced user experience ever
Get the best out of your stove with even easier and more intuitive use, wherever you are.
Show more

Architect or designer?
GUIDES, TECHNICAL DRAWINGS AND ALL THE HELP YOU NEED TO REALISE A PERFECT PROJECT
Collaborations
Design and technology continue to enrich MCZ collections. MCZ products are the result of synergic collaboration between the company and the most prestigious international players in the world of design.
Our guides
Browse and download our free guides. Discover new ideas, interesting solutions and all the answers to common questions.
See all guides
